Chat-Driven Editing
The Chat panel is where you work with the AI to make changes that go beyond what visual editing can do — adding features, restructuring layouts, changing logic, or building entirely new pages.
The Chat panel is where you work with the AI to make changes that go beyond what visual editing can do — adding features, restructuring layouts, changing logic, or building entirely new pages.
When to Use Chat vs. Visual Editing
Use visual editing when you know exactly what the visual change should be — moving an element, changing a color, editing text, adjusting spacing. It's immediate and doesn't cost credits.
Use the chat when the change involves reasoning — adding a new feature, restructuring components, fixing logic, connecting to a database, or when you need the AI to figure out how to implement something.
Giving the AI Context
The AI works better when it understands what you're referring to. Dazl provides context automatically in several ways:
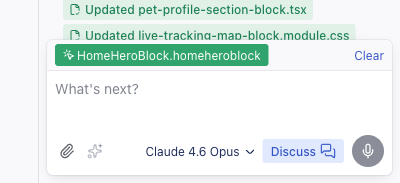
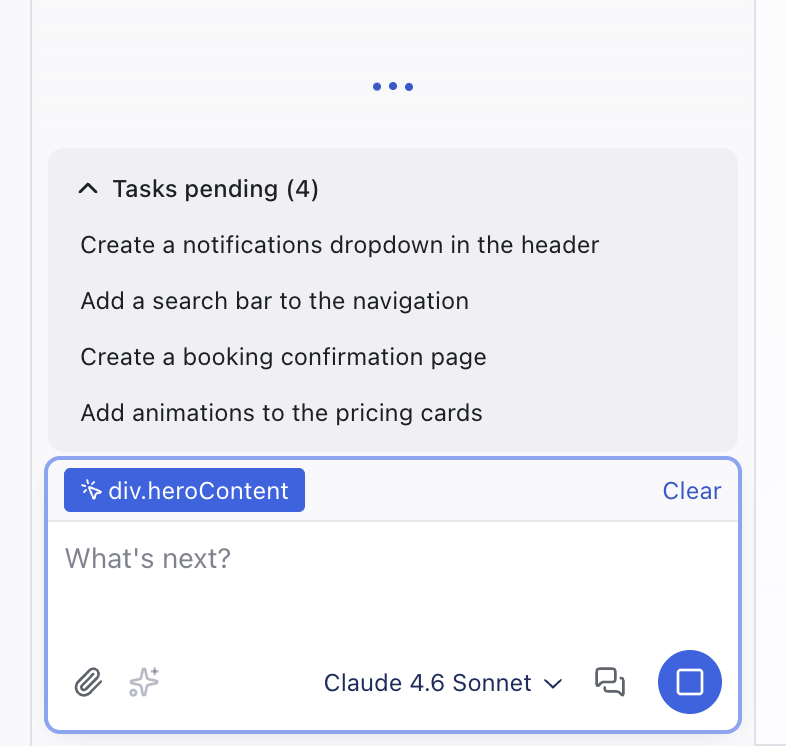
- Element attachment — When you select an element in Edit mode, it appears as a chip above the prompt box (e.g.,
HomeHeroBlock.homeheroblock) with a Clear button. This tells the AI exactly which component you're talking about. You don't need to describe "the big button in the hero section" — select it, and the AI knows. - Code analysis — Dazl's code analysis engine gives the AI an understanding of your project's structure, file organization, component hierarchy, naming conventions, and design system. The AI reads this context before making changes, which helps it produce code that fits your project.
- URL references — Share a URL in the chat and ask the AI to recreate or riff on an existing website. The AI can visit the site and use it as a reference when generating or modifying your project.
- Figma design references — Once you've connected the Figma integration, you can paste a Figma frame URL into the chat. The AI reads the design from Figma and uses it as a reference — useful for translating existing designs into working code.
- Specs — If you've written specs in the Specs panel, the AI uses them as guidelines when generating code. Well-written specs lead to better results because they give the AI a framework for decision-making.
- File attachments — Click the attachment button (paperclip icon) next to the prompt box to attach images, documents, data files, and more. Useful for design references, content to incorporate, screenshots of bugs, or any external material the AI should use as context.
- Project file context — In the Files panel, you can attach project files to the conversation to point the AI at specific source code.
Discuss Mode
When you want to talk through ideas or ask questions about your project without the AI making changes, toggle the Discuss button next to the prompt box. In this mode, the AI responds conversationally — no code is generated, no files are changed. Toggle it off to switch back to code generation. See Chat for details.
Writing Effective Prompts
A few patterns that work well:
- Be specific: "Change the hero headline font to the Display scale and make the subtext use the Caption scale" is better than "make the text look better"
- Reference what you see: "The pricing cards are too close together — add more horizontal spacing between them"
- Describe the outcome: "Add a sentiment analysis badge below each post showing positive, negative, or neutral with a color indicator"
- Work incrementally: Handle one change per message rather than combining many requests. This makes it easier to review and undo if something isn't right.
- Queue follow-ups: You can send additional prompts while the AI is still responding. Queued prompts run in order automatically, so you don't have to wait for one response to finish before sending the next request.
Understanding AI Responses
Each AI response in the chat can include:
- Formatted text — explanation of what was done, with markdown formatting
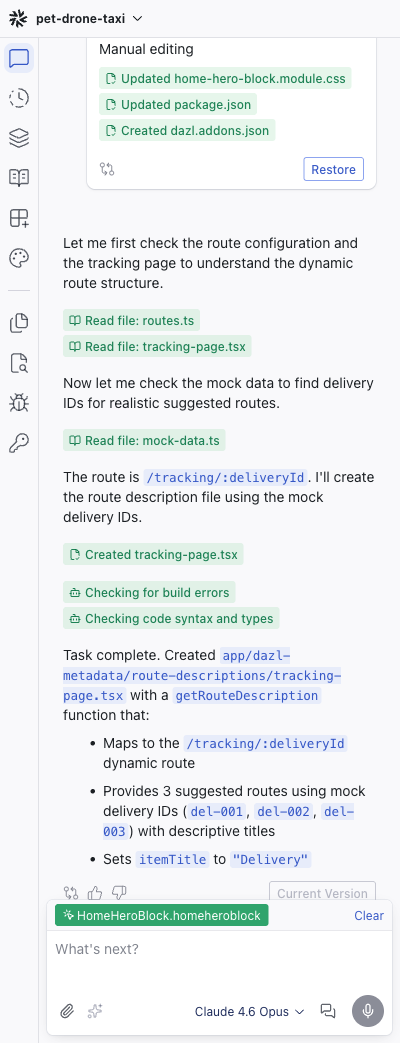
- File edit cards — expandable cards showing "Updated
filename.tsx" or "Createdfilename.ts", with an "Open file" icon to jump to the code - Action cards — "Read file:
filename.tsx" showing what the AI inspected before making changes - File count summary — e.g., "5 files changed" with a "Show more" toggle
- Generated images — the AI can generate images as part of its response and add them to your project
- Tool usage — if you've connected integrations like Supabase or Figma, the AI can use them directly — querying a database, reading a Figma design, or performing other actions on your behalf
- Token cost — the credit cost of the response, shown next to the model icon
Feedback
Each response has thumbs up (Helpful) and thumbs down (Not helpful) buttons. This feedback helps improve the AI over time.
Restore and View Code
The response that represents the current state of your project shows a "Current Version" badge with a "View Code" button to see the code changes. Older responses show a "Restore" button — click it to roll back your project to that point in the conversation.
Choosing a Model
The Model selector below the prompt box lets you pick which AI model to use for each message. Different models have different strengths: some are faster and cheaper for routine changes, others handle complex reasoning better. You can switch models at any point in the conversation.
See Chat for a comparison of available models.
Voice Input
The voice input button (microphone) next to the prompt box lets you dictate prompts using speech-to-text. Voice input is currently only available on Chromium-based browsers (Chrome, Edge, Arc, etc.).
Related Articles
- Visual Editing – direct manipulation for visual changes
- Chat – model selector and available models
- Writing Specs – guide the AI with specifications
- Understanding Changes – review what the AI modified
Styling Element States
Buttons, links, and interactive elements often look different when hovered, focused, or clicked. Dazl lets you lock an element into a specific state and style it directly — a capability that static design tools can't offer.
Inspecting Your Project
The Inspect panel gives you full visibility into how your project is built: which CSS rules affect each element, what properties are being passed, and where everything comes from. Think of it as browser DevTools, but integrated into your workflow, with readable source names and changes that persist to the source code instead of disappearing on refresh.